
WARNING!!! This is my first attempt ever to make a bot. I messed up in several areas, but was able to fix the problems. However, some problems coudln't be "undone" enough to make a new photo of. Some steps I simply zipped thru and forgot to document. So bare with me, and do e-mail me if you have questions
|
|
|
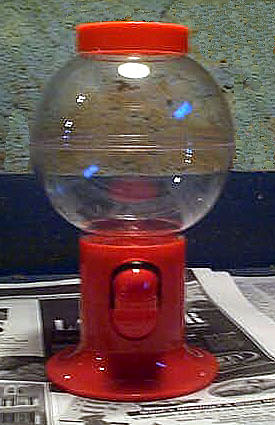
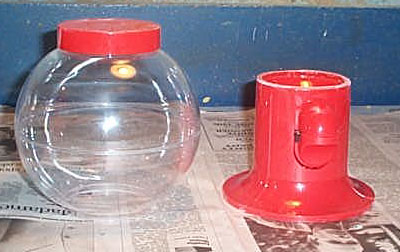
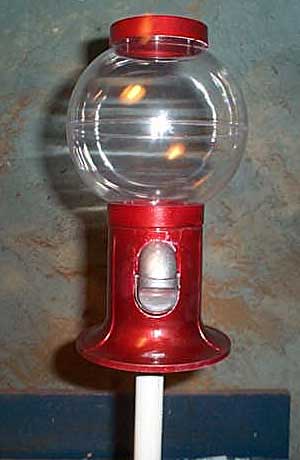
| Step 1: Get out your snack dispenser machine. See the black lever? Good. Now see the point where there's a grove on the lever where the movable lower lip starts? Make cuts there to remove the lever. | Step 2: Pry off the bottom black lid. You can drill a hole in the middle and pry it off w/ a screwdriver, or use a screw driver (maybe 2) on the edge. Just get it off safely. | Step 3: Get out a hacksaw, or a keyhole saw (and a very steady hand) and remove the clear plastic globe. Cut it just above the top of the base. Try to get as much of the globe as you can, without ruining the base. |
|
|
|
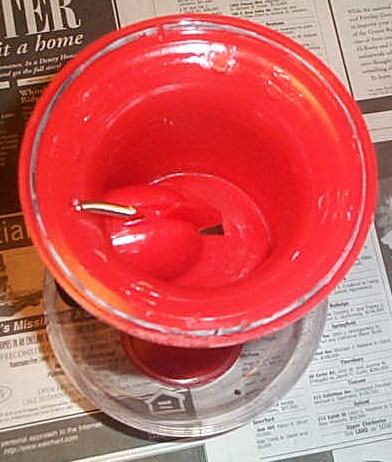
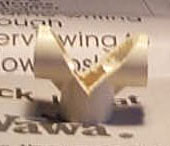
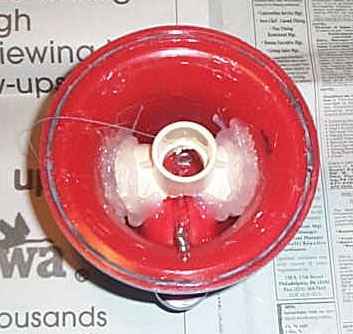
| Step 4: Now get out a 1/2" PVC "Tee" and cut it into a shape like this. Well almost. Don't make the middle cut that big, and you need to taper the edges. | Step 5: Sorry that I can't show it, but here's what you need to do. Look at step 2's picture. See the little red flap; the part where the spring attaches? Well when you have the thing in your hands you'll see it easier. Anyway, on that flap, you need to drill a 1/8" hole. Also, in the bottom (at least when its upside down), drill a 1/16" hole for a screw eye. I'll continue w/ this on step 6 now. | Step 6: Take some nylon thread (not sewing thread! It won't be strong enough), and put it thru the red lever, and tie it. Then thru the screw eye. When that's done, insert the PCV Tee. Use hot glue (or epoxy if you believe you can do things in one shot) to keep it in. Then, you can LIGHTLY (and with 400 grit sand paper) sand the base, and spray gray primer on it. You may want to wait for the glue at the end if you want to do a dry fit (highly suggested!). |
|
|
|
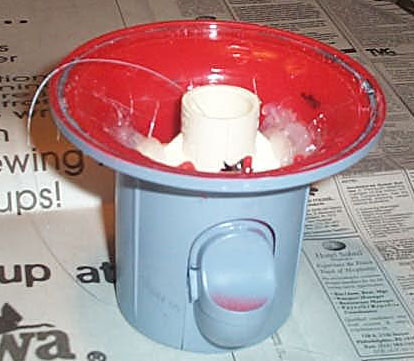
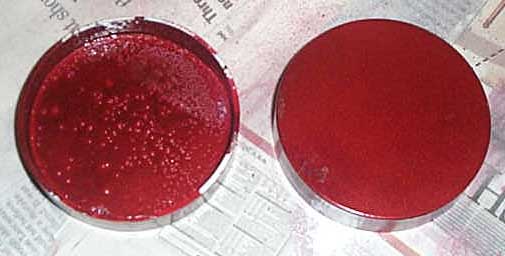
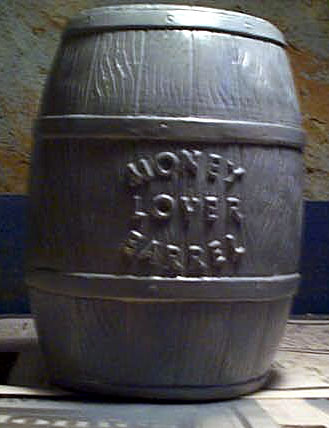
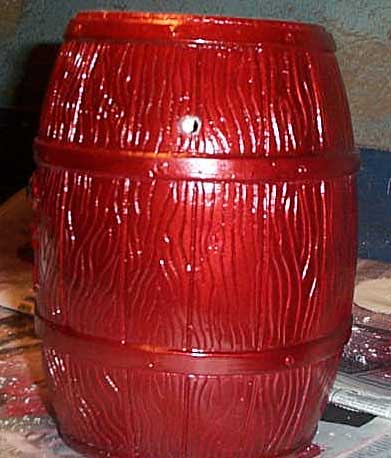
| Step 7: When you're waiting for things to dry, prime the 2 lids (one on the top, and an extra one) with gray primer. After it dries, you can paint them red. Notice the left one looks like a petri dish. Those are air bubbles. Not a good thing. Make sure you put on AT LEAST 4 coats of red total, each one about 1-2 hours between. | Step 8: Yes more continuity problems. (Jeez my bot building page could easily be MiSTed). Anyway, be sure to paint the base ruby red metal flake (4+ light coats, even strokes), then when that dries (1 hour for a "wet" dry, 24 hours for "complete" dry) paint the mouth w/ enamel gloss silver paint. No need to spray, just use a brush and a little paint bottle. If you wish, put masking tape on red parts near the mouth. Also don't forget to paint the inside of the mouth flat black. Take the 1/2" PVC and glue it in to the "Tee". | Step 9: Get your money lovers barrel and spray it with 1 or 2 coats of gray primer. |
|
|
|
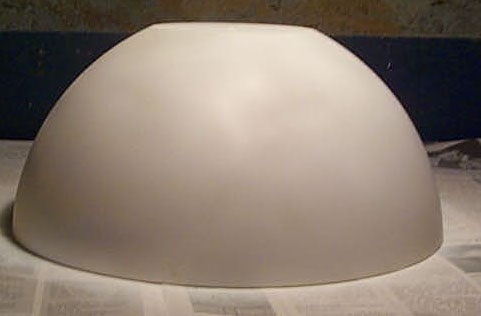
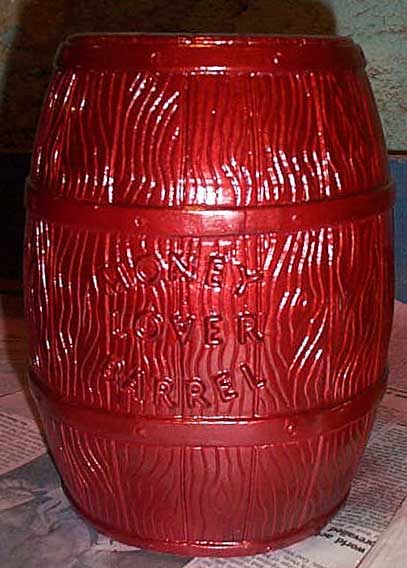
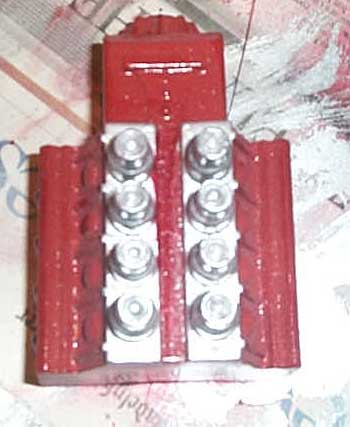
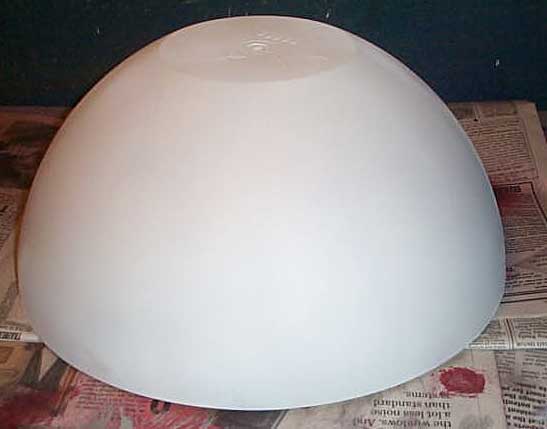
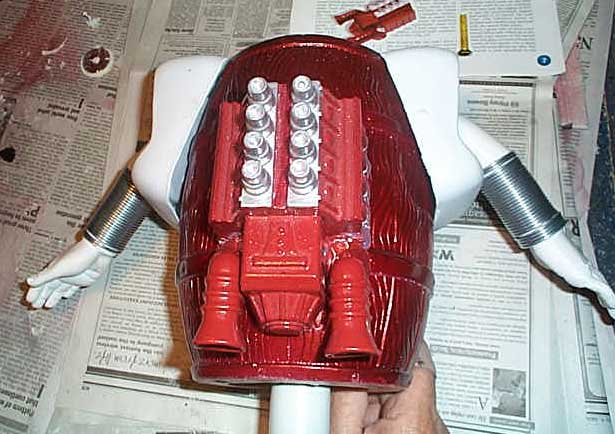
| Step 10: Get your boo bowl, or "boo bowl"-clone, and spray it w/ white primer. | Step 11: Spray your barrel ruby red metal flake. Again 4 or 5 coats, even strokes. | Step 12: More continuity problems. Get your engine block and spray it w/ gray primer (or red primer of available). Then spray w/ ruby red metal flake. I did not do this originally! I never saw ruby red metal flake up close until AFTER I looked at the barrel AND engine block together. End result is seen in step 18. Anyway, After you spray it red, get the silver out again, and paint the "pistons" silver. |
|
|
|
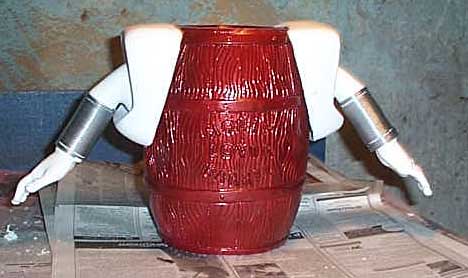
| Step 13: Is this deja vu? No its Different than step 10. Paint the bowl flat white. Spray, or brush your choice. Spray makes it quicker, but its curved so I easily missed areas. | Step 14: Now this picture is incorrect (I may touch it up w/ photoshop later to show what it SHOULD look like). Yes you want to drill 2 1/4" holes on the sides of the barrels. They will be placed at 3-o'clock and 9-o'clock positions, if you've got the "Money Lover barrel" logo facing you directly. The holes should be just above the top rim. I had them slightly too high. The hole should be touching (possibly even just go thru the top of) the top rim. Not ON the rim, but just above it. | Step 15: Open the bottom of the barrel using a hole saw, or keyhole saw (or a combo of both), so that you can get your hands inside. Drill a hole in the flashlight head so that the bolt in the cast resin copy of your Mr Moonie doll arm will fit right in the middle of it. This is where you place your flashlight head on the barrel. Get a nut and screw it on the bolt from the inside of the barrel. Do this for both arms. |
|
|
|
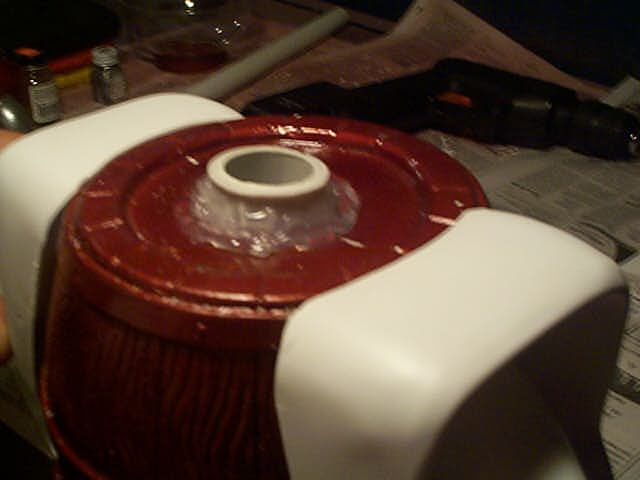
| Step 16: Take the spring and put it on the arm. There should be a little nick in it that will hold the spring. Also put on the hands on the spring. | Step 17: Drill a 1" hole on the top of the center of the barrel. You must make sure it is centered! Open it up more but not too much, but just enough so you can put in your 1" PVC pipe. It should just barely stick out of the top. When you got it right, hot glue it on there. To test, put servo's head on. It should freely move, be centered, and not be tilted. | Step 18: Glue the engine block on the front of the barrel. Yes yes I now see that it was red PRIMER and not ruby red. I fixed it later! |
|
|
|
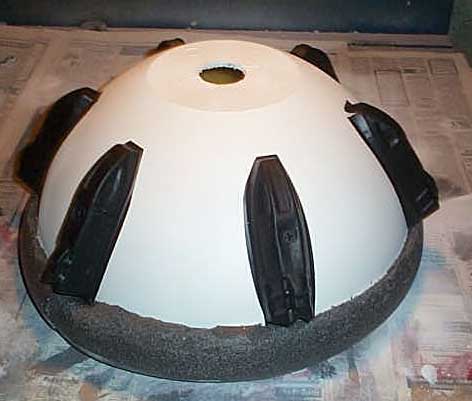
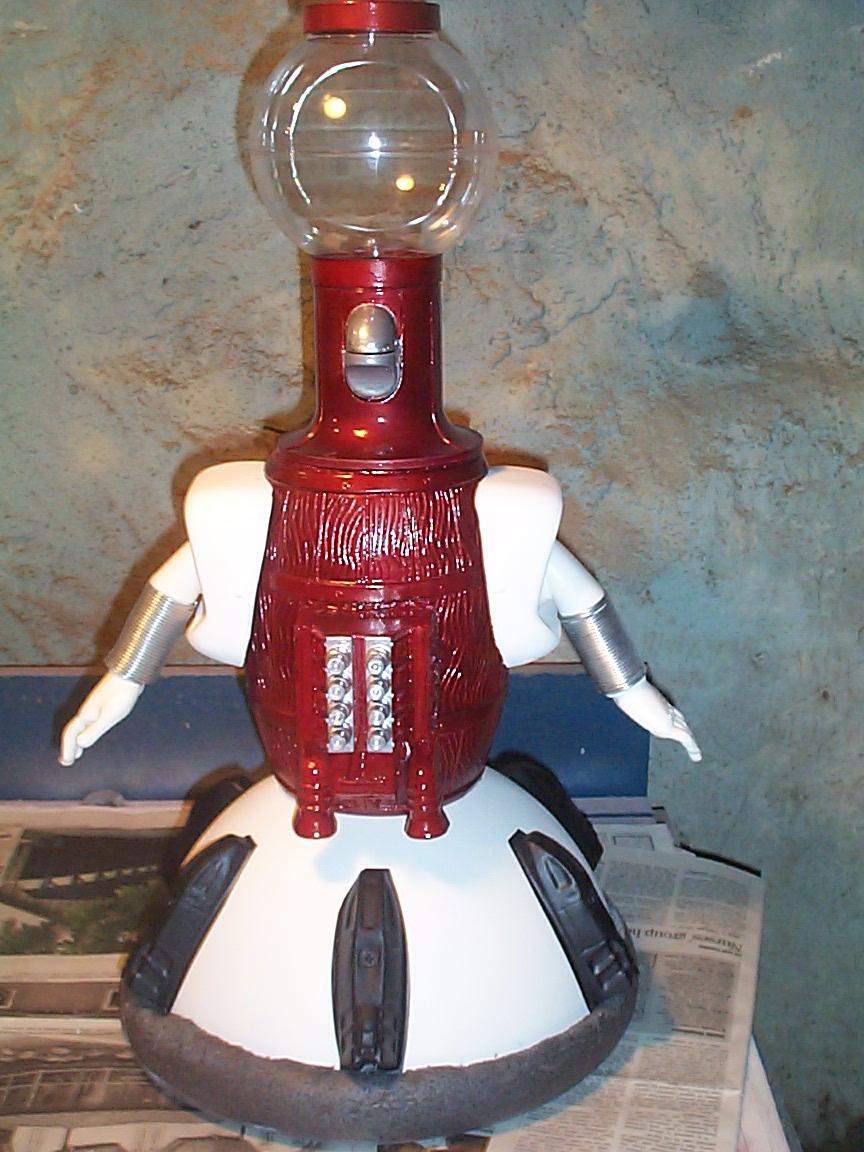
| Step 19: Take the bowl, and drill a 1 inch hole on the top middle (again be sure its centered!). Again open it so the 1" PVC can get thru. Put the 6 tyco trains around the bowl evenly. You can use self tapping screws for this. If you look at the enlarged picture of the bowl, you can see the screws. The foam tubing should NOT be self gluing, but SHOULD have a pre-made cut in the middle so it can fit on to the bowl. Fit it around loose, and make a cut. Do it slightly larger, so you have more to work with. Too short and you're screwed. | Step 20: Stick the barrel's PVC into the bowl's hole, stick the head in the top of the PVC and you're done! Hopefully it should look like this (and not like some of the sample pictures of above) |
Again as you can see, this was my first bot building experience. Kinda messy, and it definitely taught me. Even if you DO follow my instructions, if you're not familiar w/ bot building, or with craft making, you WILL mess up something.